DIY Tips: Preparing Your CAD Files for Functional 3D Printed Parts
Understanding the Basics of CAD Files
Creating functional 3D printed parts starts with a well-prepared CAD file. CAD, or Computer-Aided Design, is the foundation for translating your ideas into physical objects. To ensure a successful 3D print, it's crucial to understand the basics of preparing these files.
Firstly, consider the design's complexity and how it will affect printability. Overly intricate designs might be challenging for some printers to handle. Keeping your design optimized for your specific 3D printer can save time and material.

Selecting the Right File Format
Choosing the correct file format is essential for seamless 3D printing. The most commonly used formats are STL (Stereolithography), OBJ, and AMF (Additive Manufacturing File). Each format has its pros and cons, so select one based on your specific needs.
STL files are widely supported across various 3D printers and software, making them a popular choice. However, they only store geometry data and lack color or material information. For more detailed prints that require color or texture, consider using OBJ or AMF files.
Optimizing Your Design for Printability
Ensuring your design is optimized for printability involves a few key considerations. First, verify that your model is manifold, meaning it should have no holes or non-manifold edges. This ensures that the object will print as a solid piece without errors.
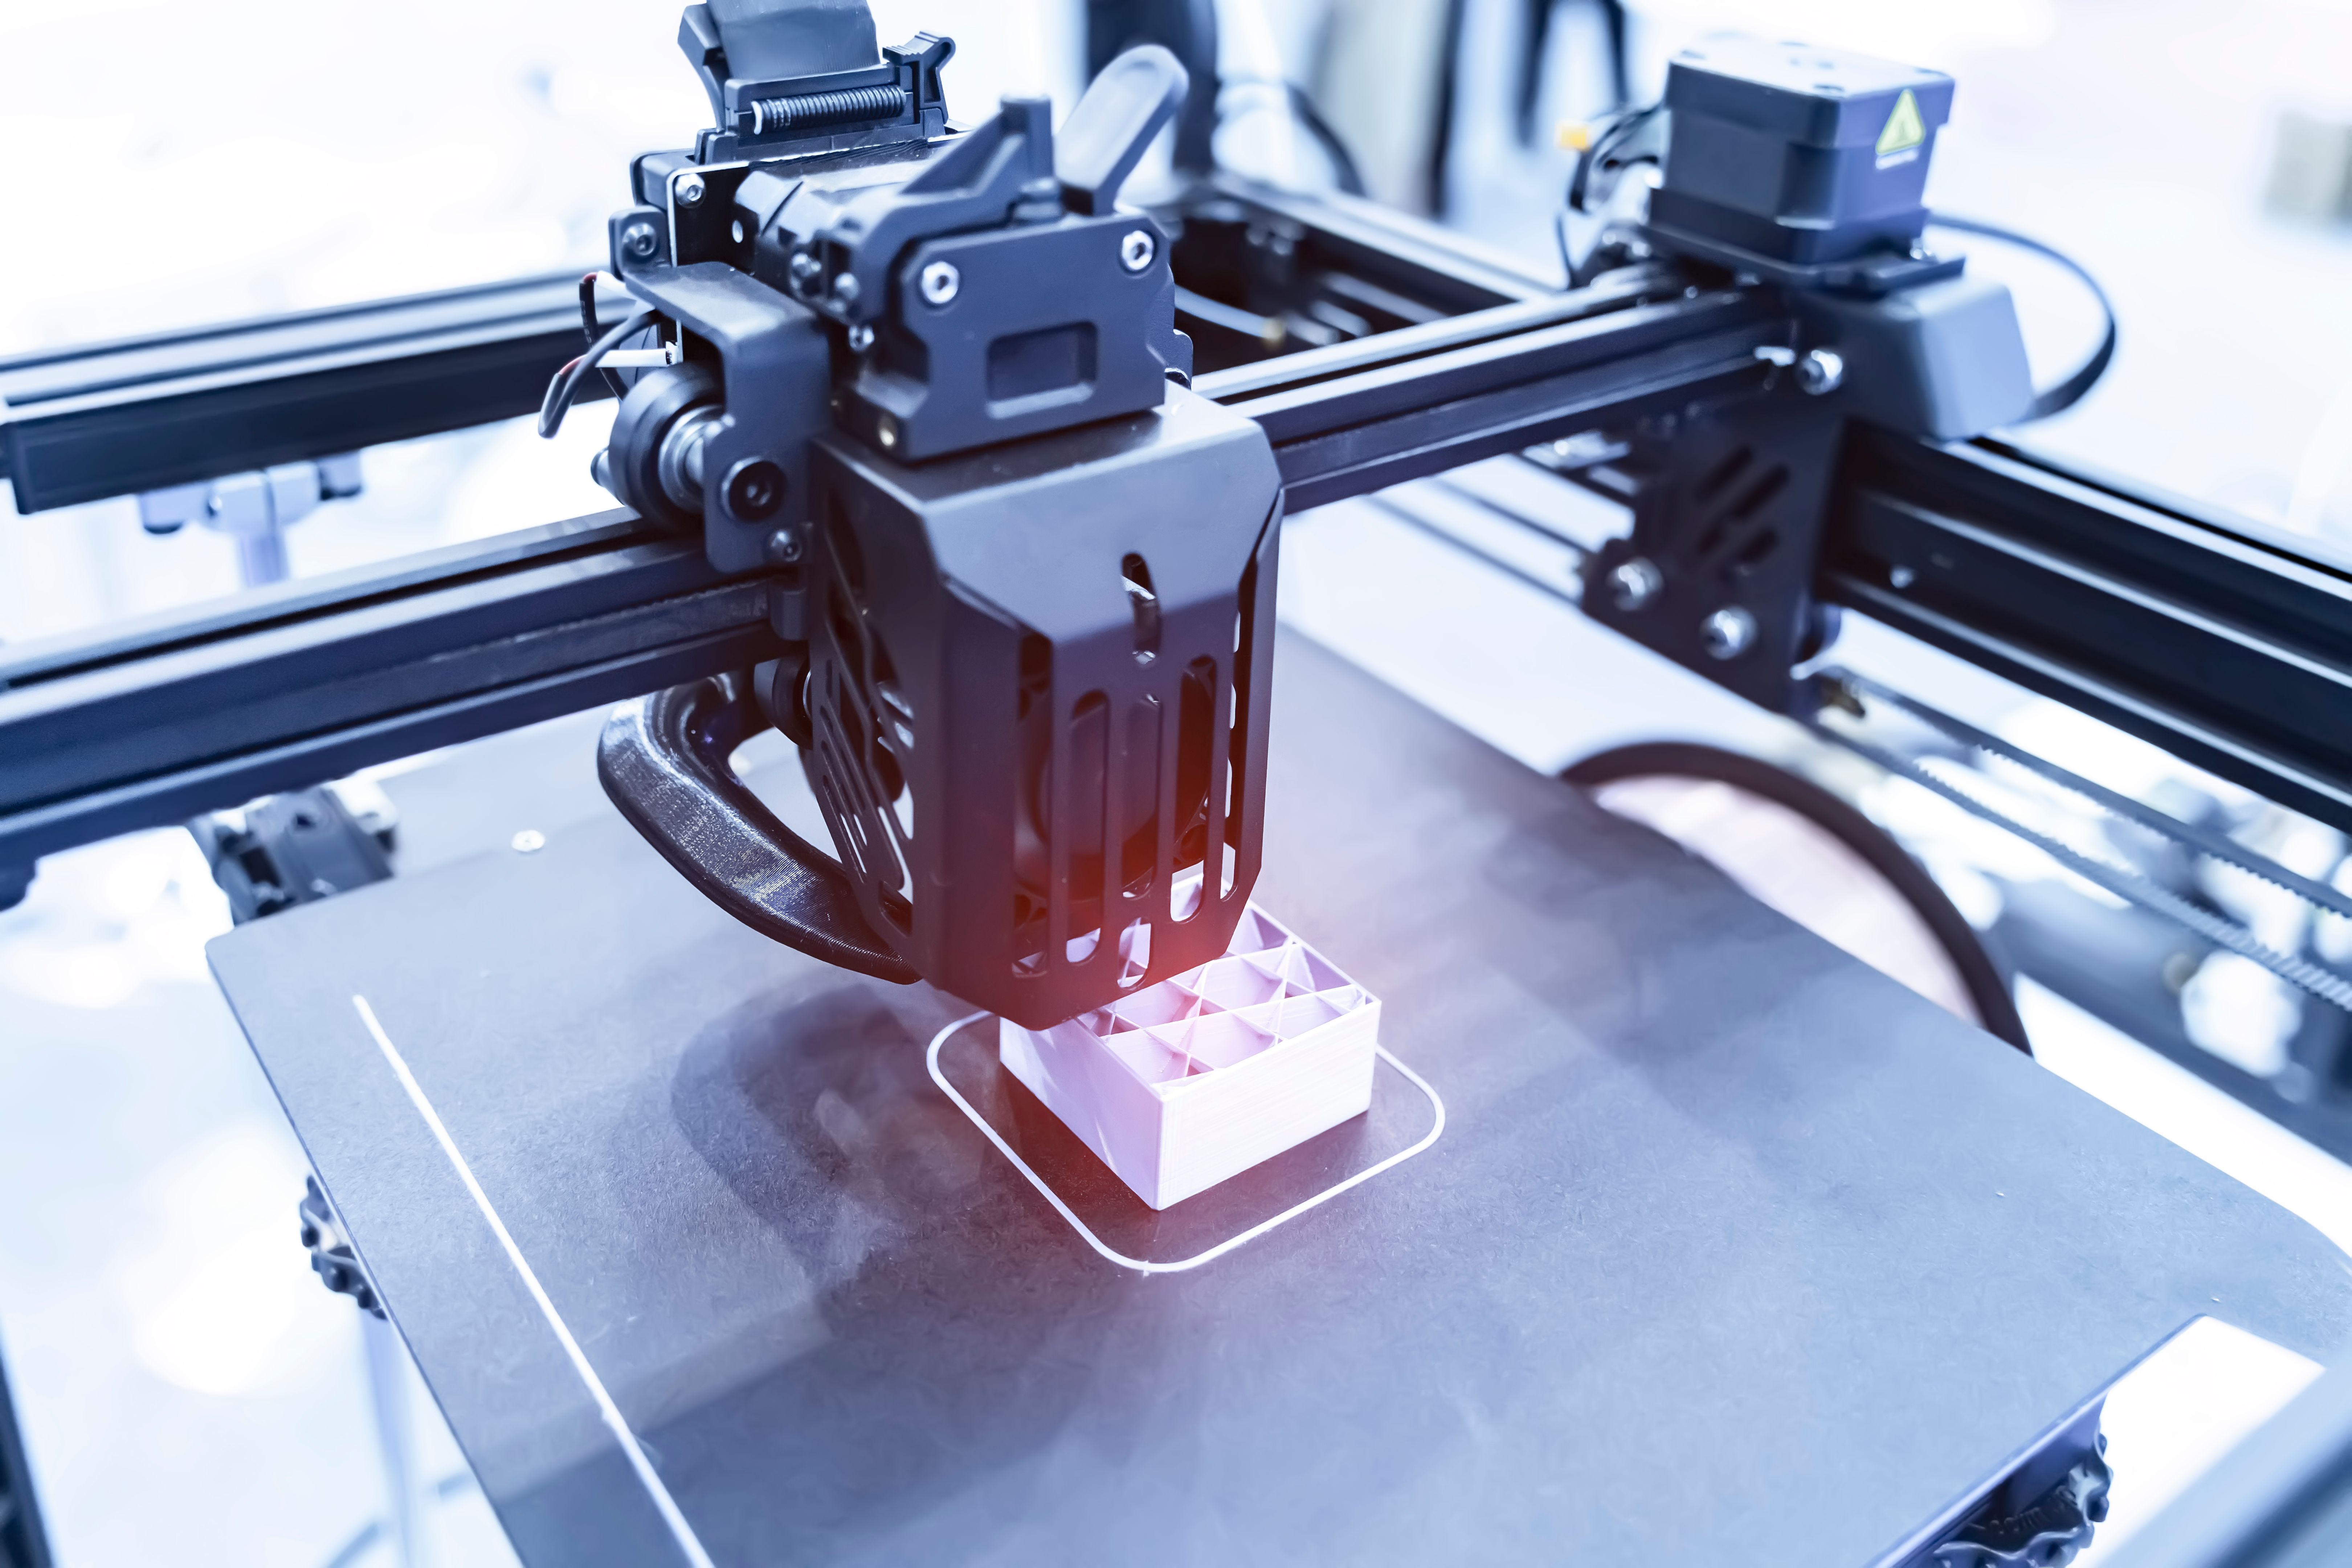
Additionally, design with support structures in mind. Overhangs greater than 45 degrees typically require support, which can be manually added during the design phase. This step can prevent failed prints and reduce material waste.
Adjusting Scale and Tolerances
Scale and tolerances are critical for functional parts that need to fit together or interact with other components. Before finalizing your CAD file, ensure that the scale is accurate to the intended size of the printed part.
Consider the tolerances needed for moving parts or tight fits. A general rule is to allow a clearance of about 0.1mm to 0.2mm for parts that need to fit together snugly but still move freely.

Running a Final Check
Before sending your CAD file to the printer, perform a final check using slicing software. This tool will convert your 3D model into layers, which the printer will use to build the object. Inspecting the sliced model can reveal potential issues such as thin walls or missing details.
Additionally, run simulations if available to foresee any printing challenges. Some advanced 3D printing software offers simulation features that predict how the material will behave during printing.
Testing and Iterating
Once your part is printed, testing it in real-world conditions is crucial. This step will help you identify any design flaws or necessary adjustments. Testing ensures that the part meets your functional requirements and performs as intended.

If changes are needed, iterate on your design based on feedback from testing. This iterative process is vital for refining your product and ensuring its success.
Documenting Your Process
Documenting each step of your design and printing process is beneficial for future projects. Keeping notes on what worked well and what didn't can streamline your workflow and help others who might work on similar projects.
Include details about file formats used, design adjustments, and settings applied during printing. This documentation serves as a valuable reference point for future improvements.
Conclusion
Preparing your CAD files for functional 3D printed parts involves a series of thoughtful steps, from choosing the right file format to running final checks before printing. By following these guidelines, you can enhance the quality and functionality of your 3D printed objects.
Remember, practice makes perfect in the world of 3D printing. With each project, you'll gain more insight into optimizing designs and overcoming challenges, paving the way for innovative creations.